Tuesday 25 November 2014

DIY Christmas Ornament

This year I made a few interesting easter eggs. I've decided to translate the same technique to the christmas ornaments (more or less).

Materials:

  • Styrofoam balls (at leats 8 cm in diameter)
  • Thin marker
  • Beads
  • Glue
  • Snow Liner/ 3D liner (anything that dries in 3D)
  • White paper towels
  • Glue for napkins
  • Acrylic paint ( I used Brilliant silver, Venetian gold, Ivory and Alabaster white)
  • Brushes
  • Clear varnish (shining)
  • Half-pearls
  • Glue
  • Ribbon
  • (napkins with different prints)

Firstly, I sketched the design on the ball with a marker, then I used beads and half-pearls to add dimensions (they simply make better circles than I'm capable of doing) and then I traced the pattern with 3D liner.
When that dried, I went over it again. after that I coverd whole ball with layer of paper towels.
I mixed together white, ivory and silver paints (I wanted pearly base - you can use any colour you want) and painted the ornament. When the paint dried, I sprayed the ornament with two layers of clear varnish. At the end, I painted the 3D parts with golden paint, added few details and voilà - finished ornament!


Here is finished ornament and also some of the easter eggs:
NOTE: If you use napkins with prints, add print you like before painting it with gold (or any other accent colour you like)

Saturday 21 June 2014

DIY Summer Wreath

Finally it's here - my DIY project I promised you to post a little while ago.

Things you'll need:

  •  Faux flowers (for this one I used daisies, tiny sunflowers and lavender) and leves
  •  Glue gun and glue sticks
  • Burlap ribbon
  • Sheer light green ribbon (I used light green for two reaasons:  a) the woman who wanted this wreath has light green paited facade and b) I thought it went well with the overall concept of the wreath)
  •  and of course, wreath base

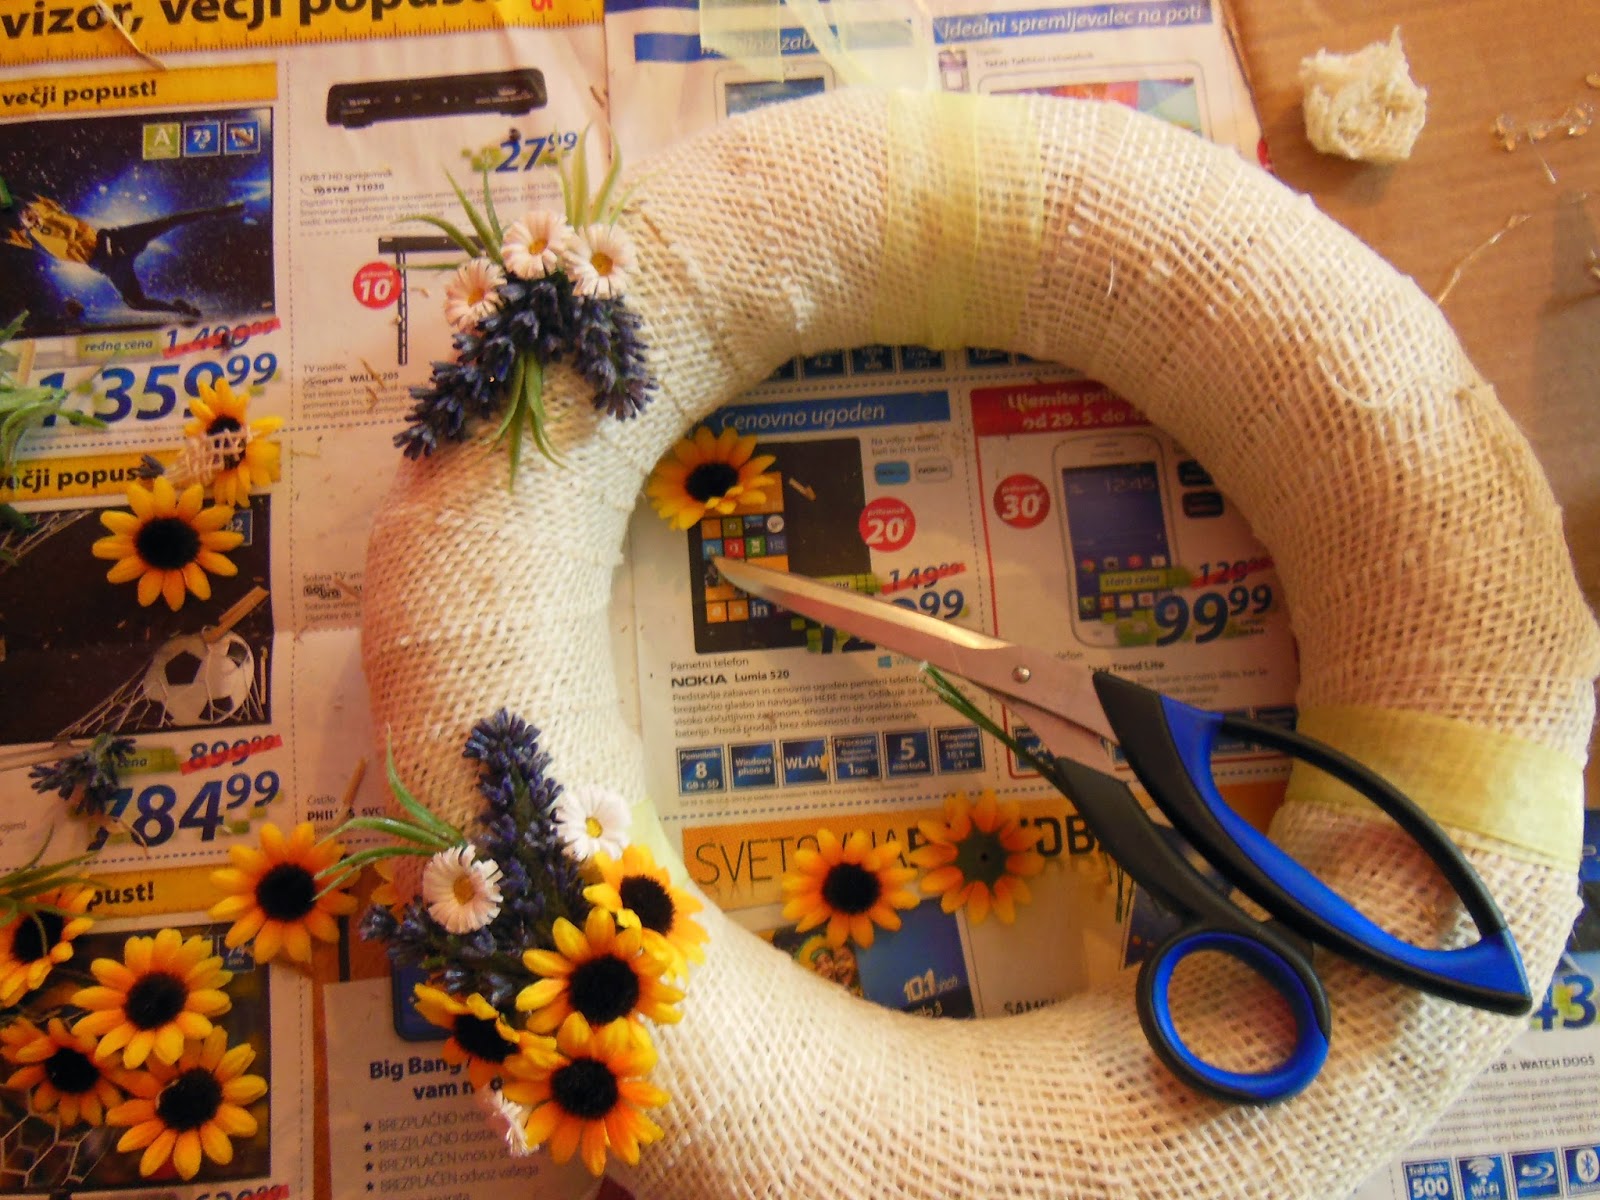
Wrap the burlap around the base. Mine was aprox. 25-30 cm in diameter and I used 6 m of burlap ribbon.


I added light green ribbon on three spots. The top one had two pieces "sticking" out, ao it could be hanged on the door.

I started adding the faux flowers. Just pick one spot and start adding them a bit randomly. I didn't cover the whole wreath with flowers.


I kept adding flowers and leaves 'till I was happy with it ( in all honesty, I didn't buy enough flowers so I had to plan carefully). During the process I asked my mum for opinion few times, simply because no one was ever hurt by hearing a second opinion ;) 

And here is final result. (I made  a tiny bow from leftover green ribbon and glued it on the wreath)


UPDATE: The woman I was making this for really liked it. Yay!


Monday 2 June 2014

ZOO Ljubljana

I've been working as a volunteer in ZOO Ljubljana since mid-March. 

It's fun but also hard work and I've learned quite a bit. There are few things that I can do to help around (with other volunteers); mostly cleaning animals' poop, cleaning windows and so on. This also means that I get to go in the enclosures - sometimes animals are in them (zebras, alpacas, zebus, farm animals, antelopes (I think they are lechwe antelopes)) and some are not (camels, giraffes, ostriches, cheetah).


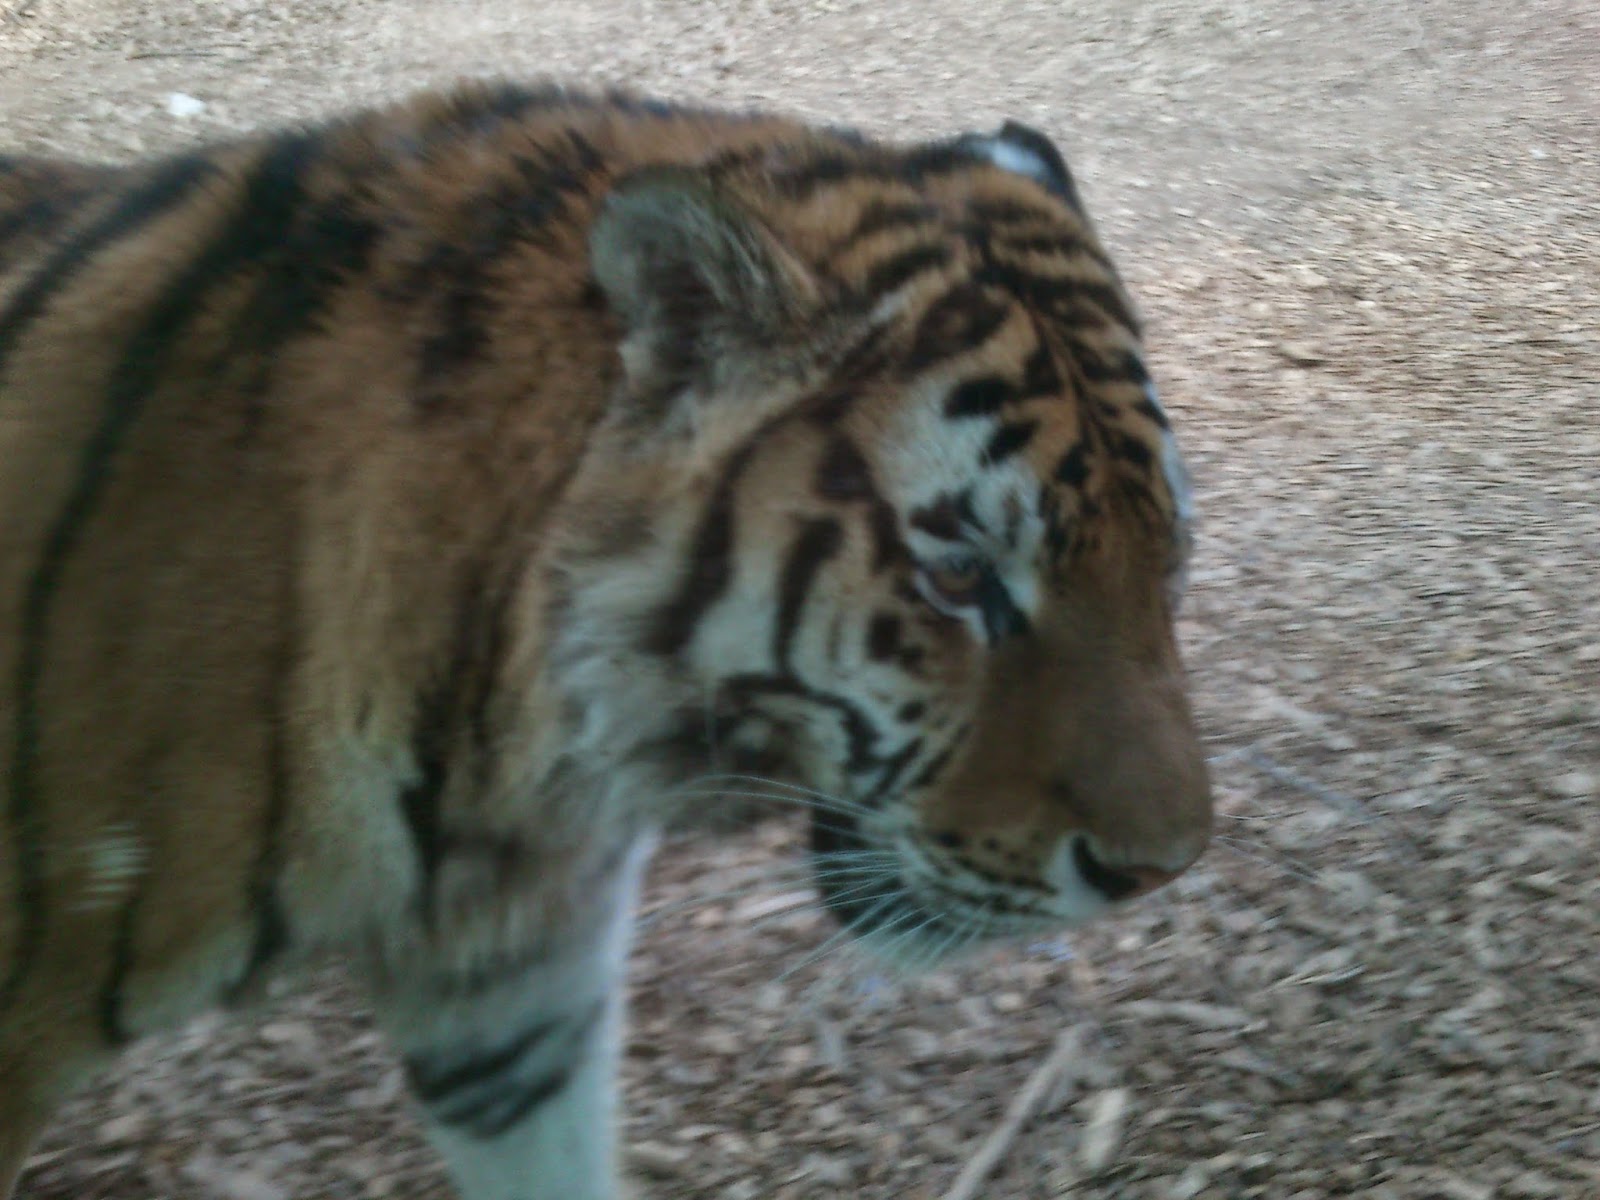
 Here are few photos that I took while working or when I had breaks.


Hope you like them :)

Sunday 1 June 2014

Geting Started

Hello everybody! 


So, I finally decided to start posting up here. First big thing will come up next week (a DIY summer-wreath) but I have to upload the photos to my laptop first (and that won't happened until next Monday at least - so more than a week from now).

For now this is it, wish me luck!

Love, Anja